Getting Started with Drawing Guides
The best way to get students off to a good start to any drawing lesson is to show them how to use guides as a reference point.
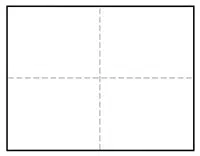
You may have noticed that all of the tutorials on this site have a dashed line running through the center of each step, both in the horizontal and vertical direction. If students make their own centered lines on their own paper, before drawing, they will have an easy reference to follow.
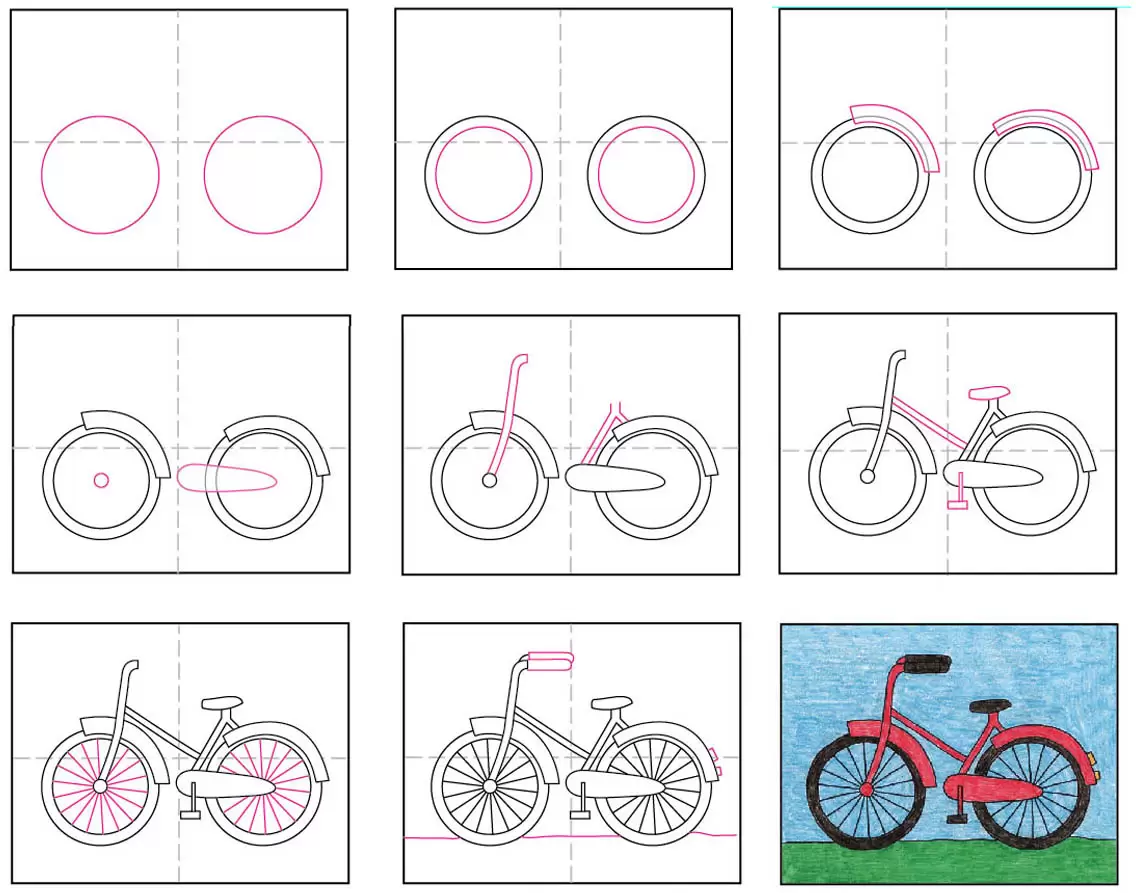
For instance, as seen in Step 1 below, the two circles for the wheels are centered in the two halves of the paper, and extend just a bit above the center horizontal line. It’s important to get these two shapes to scale and in place to make the rest of the bike shapes come together.
Drawing skills are all about getting the size and placement of lines on paper, so having some visual reference point to get started, will always help anyone learn how to be a little more accurate.
So does that mean students need to get out a ruler to draw a big fat line down the center of their paper before they start? Goodness no, please don’t! That will most likely be hard to erase and distract from any finished art. No, simply fold the sheet of paper in half both ways, make a crease, and unfold. The beauty is that by the time the drawing is done and colored in, the creases will disappear.
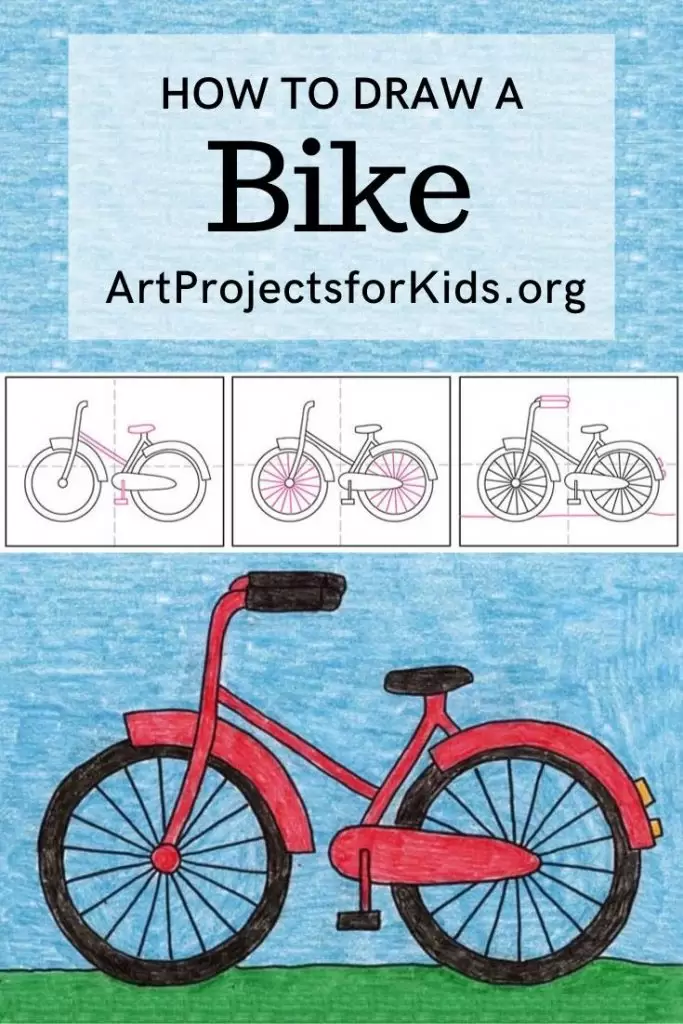
And now, on to our bicycle drawing project.